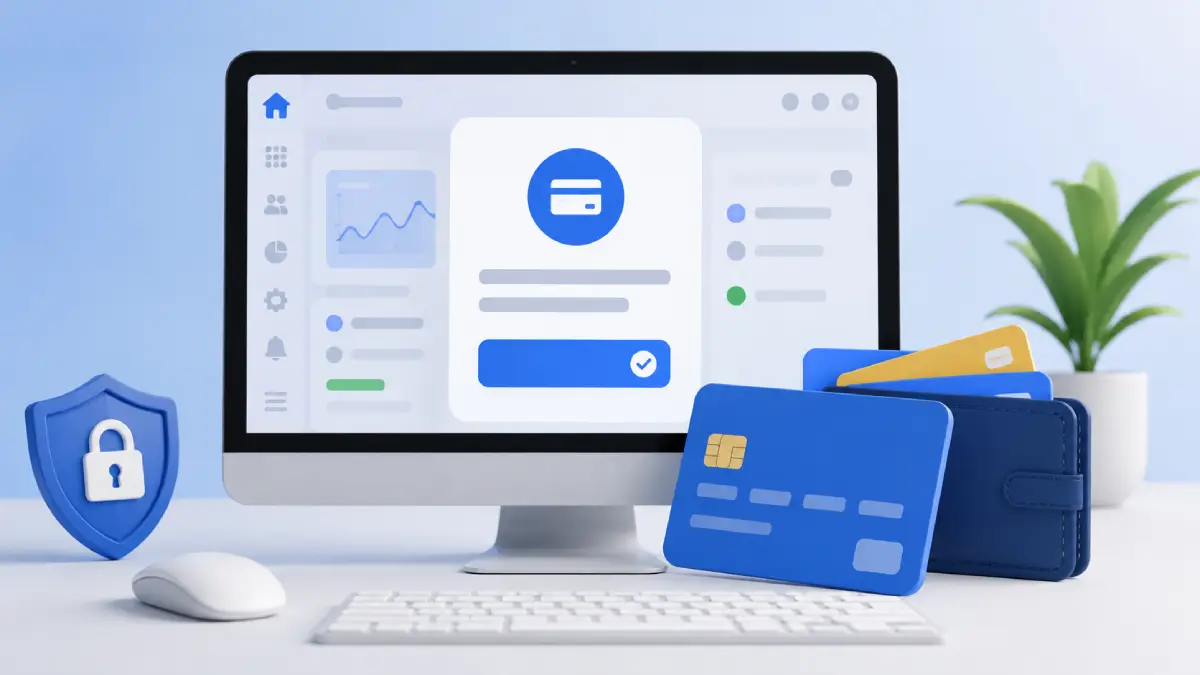
Before Meta can charge your ad account for advertising, you need a valid payment method or other supported billing arrangement. For most advertisers, this means adding a supported payment method through the ad account’s Payment settings in Meta Ads Manager.
The payment setup can vary depending on your ad account’s ownership, billing configuration, and location. You may access Meta through a personal Facebook profile, while a business ad account may be owned or managed through a Business Portfolio. However, these are different parts of Meta’s account structure; the payment method itself is primarily managed at the ad account level. The payment methods and billing options available to you can also vary based on your ad account’s country, currency, billing setup, and eligibility.
Personal Profile → Business Portfolio → Ad Account → Payment setup
1. Where Payment Methods Fit in Meta’s Ad Account Structure
Meta’s advertising setup includes several connected components, but they do not all represent separate payment levels.
- Personal Facebook Profile: Your personal profile is used to access Meta’s advertising and business tools and may be associated with an ad account. It is not a separate payment-method level.
- Business Portfolio: A Business Portfolio can own and manage business assets such as Facebook Pages, Instagram accounts, and ad accounts. It also helps manage people, partners, and permissions. However, the Business Portfolio should not be treated as a separate payment-method level where one payment method is automatically added to all of its ad accounts.
- Ad Account: This is the main level that matters for advertising billing. Ad spend is associated with the ad account, and its payment and billing settings are managed for that account.
- Meta Ads Manager: Ads Manager is the interface used to manage campaigns and access the ad account’s billing and payment settings.
2. How to Add a Payment Method in Meta Ads Manager
Payment methods are added and managed through the ad account’s billing and payment settings. The exact menu names and available options can vary depending on Meta’s current interface and your account setup, but the process generally follows this path:
- Open Meta Ads Manager.
- Select the ad account you want to manage.
- Open Billing & payments.
- Go to Payment settings.
- Find the Payment methods section.
- Select Add payment method.
- Choose an available payment method.
- Enter the required payment details.
- Save the payment method.
You need the appropriate permission to manage the ad account’s billing information. If you cannot access the payment settings or add a payment method, the person who manages the ad account may need to give you the required access or make the change for you.
Meta determines which payment methods are available based on factors such as the ad account’s country, currency, and billing setup. Therefore, the options shown in one ad account may not be identical to those available in another account.
3. What Happens After You Add a Payment Method
After you successfully add a payment method, Meta saves it to the ad account and can use it according to the account’s billing arrangement. The payment method does not by itself create or launch an advertising campaign; you still need to create and publish your ads separately.
The payment method you add may become the primary payment method for the ad account, depending on the account’s billing setup. Some advertisers may also have additional payment methods or other supported billing arrangements available.
Before launching ads, review the payment information to make sure the selected payment method is valid and the billing details are accurate. A failed payment or billing issue can prevent the ad account from continuing to deliver ads until the issue is resolved.
4. Payment Method Requirements and Availability
Meta does not show the same payment options to every advertiser. The available options can depend on your ad account’s country, currency, and billing setup.
Depending on the account, location, currency, and billing setup, Meta may support options such as credit or debit cards, PayPal, direct debit, or local payment methods. Some manual payment methods are only available when specific country and currency requirements are met, and some must be selected when the ad account is initially created.
For example, Meta currently lists NetBanking and UPI among the manual payment options available for eligible advertisers in India when the ad account is set to India and INR. These options are subject to Meta’s account requirements and availability.
This means you should rely on the payment methods actually displayed in your Payment settings rather than assuming that a payment option available to another advertiser will also be available in your account.
6. 2026 Billing Changes for Some Advertisers
In 2026, Meta changed the payment requirements for some advertisers. Beginning April 1, 2026, certain advertisers were required to move from credit-card payments to monthly invoicing or direct debit. Meta said the change affects only a small percentage of advertisers, and credit-card payments remain available for advertisers who are not subject to the new requirement.
The exact eligibility or spending threshold has not been publicly disclosed by Meta. Reports indicate that the change has primarily affected higher-spending advertisers and some business accounts, but you should not assume that every Business Portfolio or high-spending account is automatically subject to it.
If your ad account is affected, Meta may notify you through email or an in-product notification and require you to set up the specified billing arrangement. Accounts that are required to change their payment method need to follow the instructions shown in their Billing & payments settings to avoid interruptions to advertising.
This means that adding a credit or debit card is not necessarily the correct payment setup for every advertiser in 2026. The payment or billing options actually shown for your ad account should be treated as the authoritative options for that account.
5. GST and Tax Information
Payment methods and tax information are separate parts of your Meta advertising setup. If you advertise in India, you may need to provide relevant business and tax information for your ad account.
If you are registered for GST, make sure your business and tax details are accurate in your Meta account. These details can affect the billing information and tax details shown on your advertising documents.
The tax treatment applied to your advertising charges can depend on your account, business information, and billing arrangement. Check the tax information and invoices generated for your specific ad account rather than assuming the same treatment applies to every advertiser.
Tax information does not replace a payment method. You still need an eligible payment method or other supported billing arrangement for the ad account before Meta can charge you for advertising.
6. Conclusion
Adding a payment method in Meta Ads Manager is primarily an ad account billing task. Your personal Facebook profile provides access to Meta’s tools, while a Business Portfolio can organize and manage business assets. The payment setup itself is generally managed through the ad account’s billing and payment settings.
To add a payment method, select the correct ad account in Meta Ads Manager, open Billing & payments → Payment settings, and add one of the payment options available for that account. The options available to you can vary according to your country, currency, billing configuration, and account eligibility.
Before launching ads, make sure your payment details and relevant business or tax information are accurate so the ad account has an appropriate billing arrangement when Meta needs to charge it for advertising.